Air Fryer Not Turning On Troubleshooting: Quick Fixes
Most air fryers fail to turn on because of power, basket, timer, or safety switch problems.
When your air fryer stays dark and silent, the cause is often simple to fix. This air fryer not turning on troubleshooting guide walks you through safe checks, common faults, and signs that you need professional help. The steps apply to most basket-style and oven-style air fryers, though button names may vary by brand.
Start With Basic Safety Checks
Before you begin air fryer not turning on troubleshooting, unplug the appliance. Never open the outer case or touch internal wires while the unit is connected to power.
Air fryers contain heating parts, circuit boards, and capacitors. Some parts may stay warm or hold a charge after use. If you smell burning plastic, see smoke, or find melted wires, stop testing the appliance.
Use these safety rules:
- Unplug the air fryer before cleaning or inspecting it.
- Keep water away from the control panel and power cord.
- Do not bypass the basket safety switch.
- Do not use a damaged outlet or extension cord.
- Let the air fryer cool fully before testing it again.
- Contact the manufacturer or a qualified repair expert for internal faults.
A safe repair starts with a calm check. Think of the process like checking a chain: if one link is loose, the whole appliance may stop working.

Check the Power Supply First
The wall outlet is the best place to start air fryer not turning on troubleshooting. A working light or phone charger does not always prove that an outlet can safely power a heating appliance.
Follow these steps:
- Push the air fryer plug firmly into the wall outlet.
- Test the outlet with a lamp or another small appliance.
- Check your home’s circuit breaker or fuse box.
- Reset a tripped ground fault circuit interrupter outlet, often called a GFCI outlet.
- Try a second outlet in another room.
- Inspect the plug for scorch marks, cracks, or bent parts.
Avoid using a power strip during testing. Air fryers draw much more power than small electronics, and a weak power strip may trip or overheat.
If the air fryer works in another outlet, the appliance may be fine. The first outlet, breaker, or household wiring needs attention.
In my repair checks, outlet problems often appear after a kitchen appliance trips a breaker. People may assume the air fryer failed, but the real issue is a shared circuit with a microwave, toaster oven, or coffee maker.

Inspect the Power Cord and Plug
A damaged cord can explain why your air fryer is not turning on. Look closely from the plug to the point where the cord enters the appliance.
Watch for:
- Cuts or cracks in the insulation
- Loose wires near the plug
- Burn marks or dark spots
- A plug that feels hot
- A cord that bends sharply at the housing
- Signs of chewing by pets
- A loose connection inside the plug
Do not tape over major cord damage and continue using the appliance. Tape may hide the problem but cannot restore safe insulation.
If the cord feels hot during normal use, unplug the unit. Heat can point to a loose connection, overloaded circuit, or damaged cord. A replacement cord should match the original rating and should be installed by a qualified technician unless the manufacturer provides a user-replaceable design.
This check is a key part of air fryer not turning on troubleshooting because a cord may fail without any visible damage. If the outlet works and the cord looks fine, continue to the basket and control checks.

Make Sure the Basket or Door Is Fully Closed
Many air fryers will not start unless the basket, drawer, or oven door is correctly positioned. This safety feature keeps the heating element from operating when the cooking chamber is open.
Remove the basket and slide it back in slowly. Make sure it sits level and reaches the rear stop. For an air fryer oven, close the door until it meets the frame without force.
Check for:
- Food crumbs around the basket rails
- Grease buildup near the latch
- A bent basket frame
- A door that does not sit square
- A loose or broken latch
- A tray that blocks the door from closing
Unplug the air fryer before cleaning crumbs from the latch area. Use a dry cloth or a slightly damp cloth, then let the area dry completely.
Do not press, tape, or manually hold the safety switch closed. That switch protects you from exposed heat and moving parts. Bypassing it can create a fire or burn risk.
A basket that looks closed may still sit a few millimeters out of place. This small gap can stop the appliance from receiving the “ready” signal.
Check the Controls, Timer, and Start Button
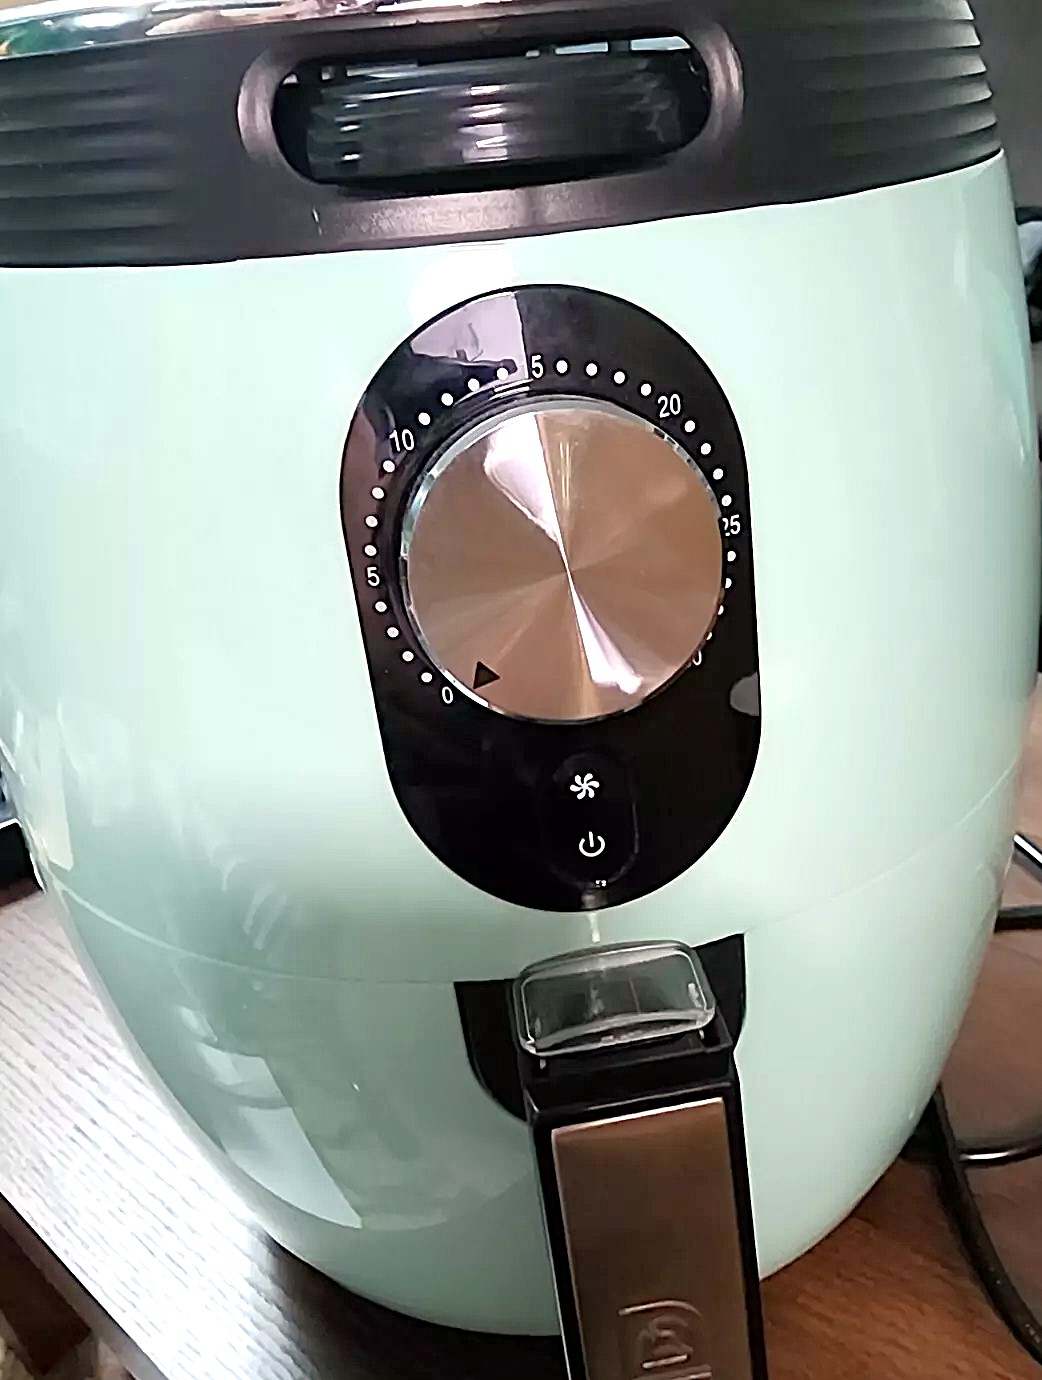
Some air fryers do not heat until you select a cooking time. Setting only the temperature may leave the unit waiting for more input.
Try this simple sequence:
- Plug the air fryer directly into a working wall outlet.
- Place the basket or close the door.
- Press the power button once.
- Set a short cooking time, such as five minutes.
- Set a cooking temperature.
- Press Start if your model has a separate Start button.
Use a firm but gentle touch. Repeatedly pressing a button will not fix a worn control panel and may make it worse.
If the display shows a clock, “00:00,” or a standby symbol, the air fryer may have power but may not have a complete cooking program. Read the model’s instructions to confirm the correct button order.
For touch panels, dry your hands and wipe the panel with a clean, dry cloth. Moisture, grease, and flour can stop capacitive buttons from responding.
This step often solves air fryer not turning on troubleshooting cases where the appliance is not truly dead. It may simply be in standby mode or waiting for a time setting.

Reset the Air Fryer and Let It Cool
An air fryer may stop responding after overheating. Most models have thermal protection that shuts off power when internal temperatures rise too high.
To reset it:
- Unplug the appliance.
- Remove the basket or tray.
- Place the unit on a clear, heat-safe surface.
- Wait at least 20 to 30 minutes.
- Check that the air vents are not blocked.
- Plug it directly into a working outlet.
- Try a short cooking cycle.
Do not cover the vents or place the air fryer tightly against a wall. Air must move around the housing to carry heat away.
A reset may help after a long cooking session, an overloaded basket, or poor ventilation. However, repeated overheating is not normal. It may signal a blocked fan, faulty sensor, dirty filter area, or failing control board.
If the display remains blank after cooling and resetting, continue with the basic checks. Do not keep cycling the power if you smell an electrical odor.
Look for Error Codes and Unusual Symptoms
An error code can make air fryer not turning on troubleshooting much easier. Write down the exact code, including letters, numbers, and symbols.
Common clues include:
- A completely blank display may point to power, cord, fuse, or control board trouble.
- A display that works but no heat may point to the heating element, relay, fan, or temperature sensor.
- A basket error may point to the drawer, door, or safety switch.
- Repeated beeps may indicate an incomplete setting or a sensor problem.
- A sudden shutdown during cooking may indicate overheating or an electrical fault.
Check the manual for the error code rather than guessing. Different brands use different codes, so a code that means “basket open” on one model may mean something else on another.
Pay attention to when the problem began. A new issue after washing the basket may involve moisture. A failure after a power surge may involve the fuse or control board. A gradual failure may suggest a worn switch, cord, fan, or heating system.
These details help a service technician diagnose the air fryer faster and may prevent unnecessary part replacement.

Clean the Airflow Areas
Cleaning may not restore a completely dead air fryer, but it can solve overheating and sensor problems. Grease and crumbs can collect near the vents, fan, latch, and heating area.
Unplug the unit first. Remove washable parts and clean them according to the manual. Wipe the inside with a soft, damp cloth, but never pour water into the air fryer body.
Pay special attention to:
- Rear and side air vents
- The area above the basket
- The fan opening
- The basket rails
- The door seal
- Grease near the heating element
Do not scrape the heating element with a knife. Do not spray cleaner into the control panel. Let all cleaned parts dry fully before reconnecting the appliance.
A clean air fryer heats more evenly and has better airflow. Still, cleaning cannot repair a broken fuse, switch, wire, or circuit board. Know the limit of this step.
Test for a Faulty Safety Switch
The basket or door safety switch tells the control system that the cooking area is closed. If the switch fails, the air fryer may look normal but refuse to start.
You may suspect this switch when:
- The display works but cooking never begins.
- The unit starts only when you push the basket inward.
- The basket must sit at an unusual angle.
- The air fryer stops when you move the handle.
- A basket or door error appears repeatedly.
Do not remove the housing to test the switch unless you have suitable electrical training. Internal testing can expose live voltage and may cancel the warranty.
A professional can test the switch with the correct meter and replace it if needed. In many cases, replacing a worn latch or basket is safer and less costly than trying to repair the switch itself.
This is one of the most important air fryer not turning on troubleshooting points: never defeat a safety device just to make the appliance run.

Know When the Heating Element or Control Board Failed
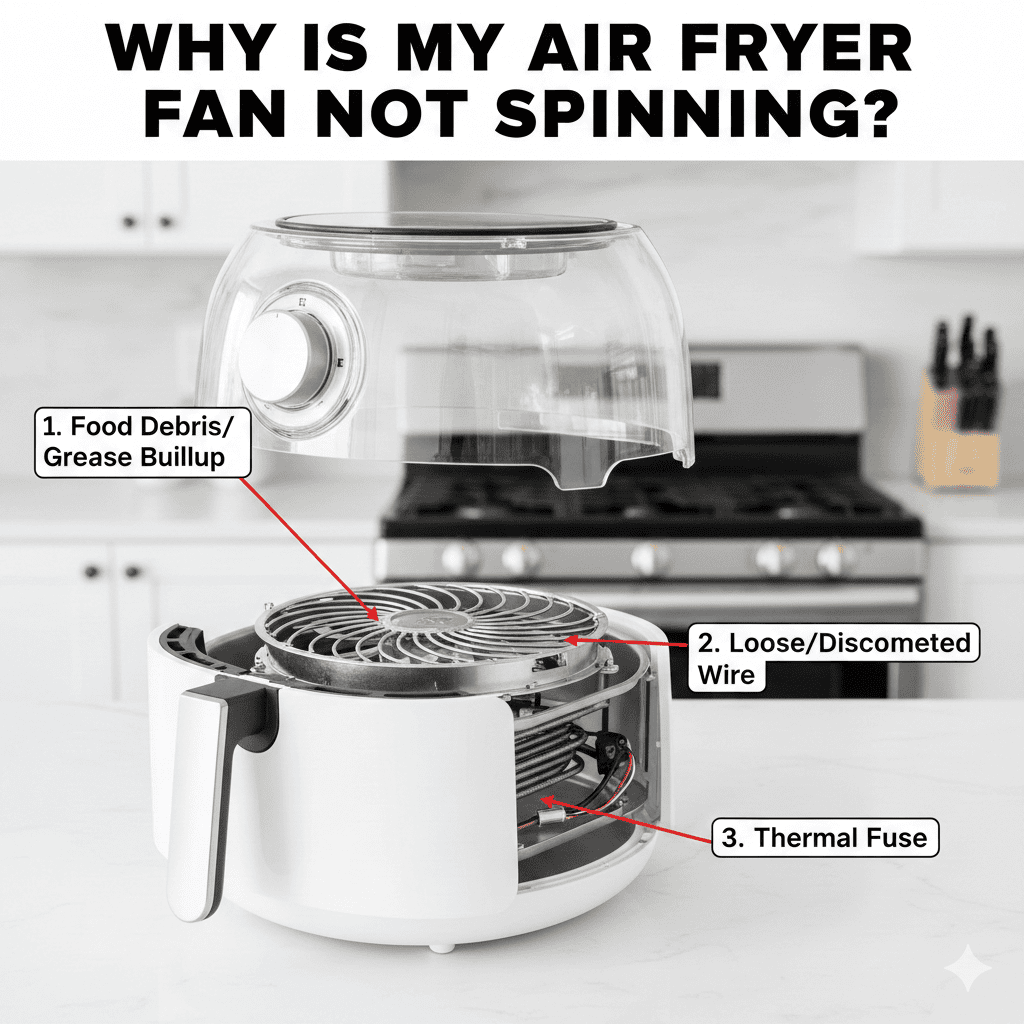
If the display turns on but the air fryer does not heat, the problem may involve the heating element, thermal fuse, temperature sensor, relay, fan, or control board.
If nothing lights up, the issue may involve:
- The wall outlet
- The plug or power cord
- An internal fuse
- A failed power switch
- A damaged control board
- A loose internal connection
These parts are not good do-it-yourself projects for most users. Air fryers connect to household mains power, and incorrect repairs can cause shock, fire, or further damage.
Stop using the appliance if you notice smoke, sparks, a burning smell, repeated breaker trips, or a hot plug. Contact the manufacturer if the air fryer is under warranty. Otherwise, ask a qualified appliance repair professional for a diagnosis.
Industry electrical safety guidance consistently favors replacing damaged cords and using approved parts. Cheap, untested parts may fit physically but still create a serious safety risk.
Common Mistakes to Avoid
Many people make the same mistakes when trying air fryer not turning on troubleshooting at home. Avoiding them protects both you and the appliance.
- Do not keep pressing the Start button when the unit smells burnt.
- Do not use an extension cord unless the manual specifically allows it.
- Do not place the air fryer on a wet counter.
- Do not block the rear or side vents.
- Do not force a warped basket into the housing.
- Do not operate the appliance without its required tray.
- Do not open the case while the unit is plugged in.
- Do not replace a fuse with foil or a higher-rated fuse.
- Do not ignore a breaker that keeps tripping.
One common mistake is assuming that a blank screen always means a dead appliance. A tripped GFCI outlet or loose plug can create the same symptom. Start with the simple checks before considering expensive repairs.
Another mistake is testing the air fryer repeatedly after it shuts down. If thermal protection activated, repeated attempts can increase heat and stress the appliance.
A Simple Troubleshooting Order
Use this order when your air fryer will not turn on:
- Unplug the appliance and inspect it for damage.
- Test the wall outlet with another device.
- Reset the circuit breaker or GFCI outlet if needed.
- Check the plug and power cord.
- Reinsert the basket or close the oven door fully.
- Set both a time and temperature.
- Clean crumbs and grease from the latch and vents.
- Let the appliance cool for 20 to 30 minutes.
- Look for an error code.
- Stop and seek service if the unit still does not respond.
This sequence saves time because it moves from simple, low-risk checks to problems that need professional tools. It also gives you useful information if you contact customer support.
Write down the brand, model number, symptoms, error code, and steps you already tried. A clear description can help support staff avoid repeating basic advice.
Repair or Replace: Which Is Better?
Repair may make sense when the air fryer is expensive, fairly new, or covered by a warranty. It may also be worthwhile when the issue is a replaceable basket, door, or cord.
Replacement may be more practical when:
- The air fryer has severe heat damage.
- The control board has failed.
- The repair cost is close to a new appliance.
- Replacement parts are unavailable.
- The unit has repeated electrical faults.
- The appliance is old and has heavy grease buildup.
Never judge repair cost by the part alone. Labor, shipping, diagnosis, and safety testing can add to the total.
A new air fryer should have clear safety instructions, a stable base, protected heating elements, and a reliable warranty. Keep the receipt and model information in case you need support later.
Frequently Asked Questions About Air Fryer Not Turning On Troubleshooting
Why is my air fryer not turning on at all?
Check the wall outlet, breaker, plug, power cord, and basket position first. If the outlet works and the display stays blank, an internal fuse, switch, or control board may have failed.
Why does my air fryer have power but not start?
The basket or door may not be fully closed, or the appliance may need both a cooking time and temperature. A safety switch, control panel, or error code can also prevent the cooking cycle from starting.
Can an overheated air fryer stop working?
Yes. Thermal protection can shut the appliance down when it becomes too hot. Unplug it, let it cool for 20 to 30 minutes, clear the vents, and seek service if the problem repeats.
Should I use an extension cord with an air fryer?
It is best to plug the air fryer directly into a suitable wall outlet. If the manufacturer permits an extension cord, it must have the correct rating and should not share an overloaded circuit.
Is it safe to open an air fryer to fix it?
Opening an air fryer can expose you to dangerous electrical parts and may void the warranty. Unless you have proper appliance repair training, leave internal repairs to a qualified technician.
Why does my air fryer keep tripping the breaker?
A damaged cord, overloaded circuit, shorted component, or internal fault may trip the breaker. Stop using the air fryer if this happens more than once and arrange a professional inspection.
Can cleaning fix an air fryer that will not turn on?
Cleaning can help if crumbs or grease block the basket latch, vents, or sensors. It will not fix a broken cord, fuse, switch, heating element, or control board.
Conclusion
Air fryer not turning on troubleshooting should begin with the outlet, plug, cord, basket, settings, and cooling period. These simple checks solve many problems without tools. If you find smoke, heat damage, repeated breaker trips, or a blank display after testing, stop and seek qualified service.
Treat your air fryer like any other heating appliance: keep it clean, give it space, and never bypass its safety features. Try the safe steps above, then share your experience or explore your manufacturer’s support resources for model-specific help.