What Setting To Use On Air Fryer: Best Temperature Guide
For most foods, use the Air Fry setting at 375°F. Start checking early, then adjust the time or temperature based on the food’s size, moisture, and package directions. Use 360°F to 400°F for most meals, and always confirm that meat, poultry, and seafood reach a safe internal temperature.
This guide applies to air fryers used in the United States, where recipes and food-safety guidance commonly use degrees Fahrenheit. Your model may use different names, such as Air Crisp, Crisp, Convection, or Air Roast, so check the owner’s manual if the controls are unclear.

The Best General Air Fryer Setting
The best default setting is Air Fry at 375°F for 10 to 20 minutes, depending on the food. This setting gives many foods enough heat to brown and crisp without burning the outside before the center cooks.
Use this as a starting point:
| Food type | Setting | Starting temperature | Typical time |
|---|---|---|---|
| Frozen fries | Air Fry | 400°F | 12–20 minutes |
| Fresh vegetables | Air Fry | 375°F | 8–16 minutes |
| Chicken wings | Air Fry | 400°F | 18–25 minutes |
| Boneless chicken breast | Air Fry | 375°F | 16–24 minutes |
| Fish fillets | Air Fry | 375°F | 8–14 minutes |
| Burgers | Air Fry | 375°F | 10–16 minutes |
| Reheating pizza | Reheat or Air Fry | 350°F | 3–6 minutes |
| Toasted sandwiches | Air Fry | 350°F | 5–8 minutes |
| Baked goods | Bake | 325–350°F | Recipe-dependent |
These times are starting points, not guarantees. Air fryers vary in wattage, basket shape, fan speed, and heating pattern. A small basket may cook faster than a large oven-style model. Food placed near the heating element may brown sooner.
Choose a temperature by food type
- 325°F to 350°F: Use for delicate foods, baked goods, leftovers, and foods that brown quickly.
- 360°F to 375°F: Use for chicken breast, vegetables, fish, meatballs, and most fresh foods.
- 390°F to 400°F: Use for frozen fries, tater tots, wings, and foods that need strong surface browning.
- 400°F or higher: Use only when your model allows it and the recipe or food package supports it.
A high temperature does not always produce better food. It can crisp the outside while leaving thick food undercooked. Lower heat with more time often works better for large chicken pieces, thick vegetables, and dense foods.

What Do the Air Fryer Settings Mean?
The Air Fry setting uses a heating element and a fan to move hot air around the food. This moving air helps dry the surface and create browning with less oil than deep frying.
Your air fryer may include several cooking functions. The labels can differ by brand, but the basic purpose is often similar.
Air Fry or Air Crisp
Use this setting for:
- French fries
- Chicken wings
- Breaded foods
- Vegetables
- Frozen snacks
- Small cuts of meat
- Fish fillets
Air Fry is usually the best choice when you want a crisp exterior.
Bake
Use Bake for foods that need gentler, steadier heat, such as:
- Muffins
- Small cakes
- biscuits
– Quick breads - Casserole portions
- Stuffed foods
Some models use the same heating system for Air Fry and Bake but change the fan speed or temperature range. The manual may explain the difference.
Roast
Use Roast for larger foods that benefit from strong heat but do not need constant surface crisping. Examples include:
- A small pork roast
- Chicken thighs
- Root vegetables
- Corn on the cob
- Small whole vegetables
Because settings vary by model, treat Roast as a convenience program rather than a universal temperature standard.
Reheat
Use Reheat for leftovers when you want to warm them without making them as crisp as Air Fry. A setting near 300°F to 350°F often works well.
For pizza, fries, chicken, and other foods that became soft in the refrigerator, Air Fry may restore more crispness than microwave heating.
Dehydrate
Use Dehydrate for thin slices of fruit, vegetables, or meat prepared according to a tested food-preservation method. Dehydrating meat requires special care because low heat and long cooking times may not destroy harmful bacteria unless the food is heated properly first.
Do not assume that every Dehydrate setting is suitable for making jerky. Follow a tested recipe and current USDA guidance for safe preparation.

How to Set an Air Fryer Step by Step
Use this method for most foods.
1. Check the food instructions first
Read the package or recipe before choosing a setting. Frozen foods often provide air fryer instructions. If they do, use those instructions as your first reference.
If the package gives only oven instructions, start by reducing the temperature by about 25°F and checking the food earlier than the oven time. This is a common starting adjustment, not a fixed rule. The air fryer may cook faster or slower than the package estimate.
2. Select the cooking function
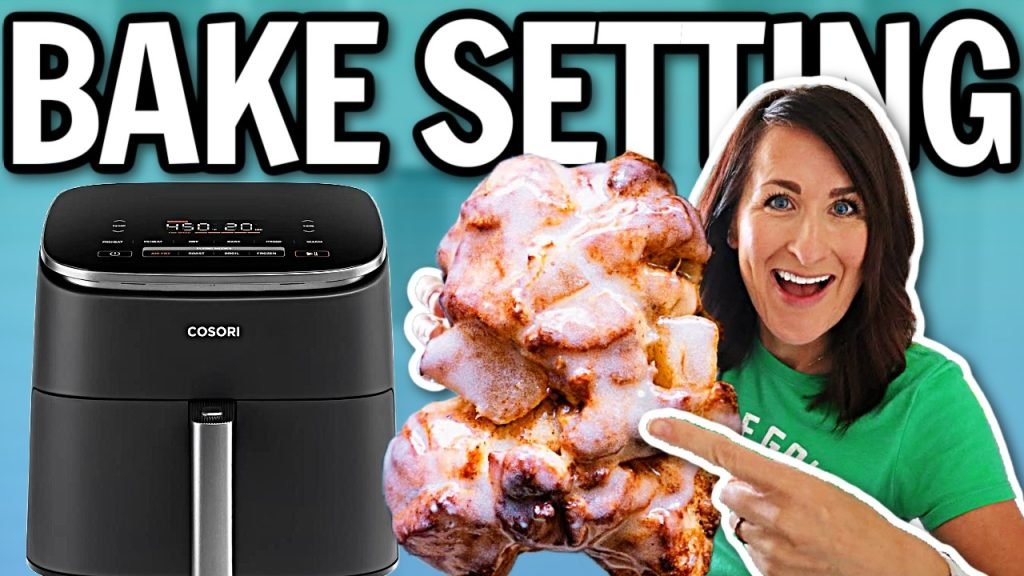
Choose Air Fry or Air Crisp for crisp foods. Choose Bake for cakes, muffins, and other items that may dry out or brown too quickly under strong fan heat.
If your model has only one cooking mode, use its standard setting and control the result with temperature and time.
3. Set the temperature
Start with:
- 375°F for general cooking
- 400°F for frozen foods and wings
- 350°F or lower for delicate foods and reheating
Thick foods often need a moderate temperature. Thin foods can usually tolerate higher heat because they cook quickly.
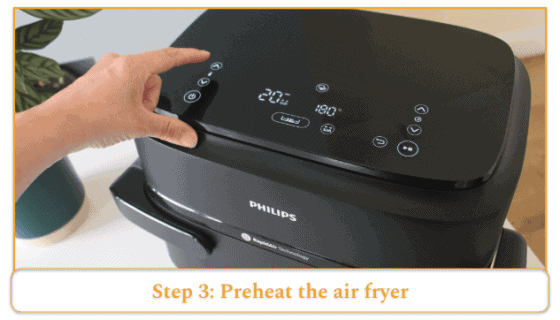
4. Preheat when useful
Preheating can help food brown sooner and may reduce cooking time. It is especially useful for:
- Frozen fries
- Chicken wings
- Breaded foods
- Steak
- Fish
- Foods where browning matters
Some air fryers heat quickly and do not require preheating. If the manual does not call for it, preheating is optional. Never leave the appliance unattended while it heats.
5. Prepare the food
Dry wet foods with a paper towel when appropriate. Lightly coat fresh vegetables or plain meat with oil if the recipe calls for it.
Use only a small amount of oil. Too much oil can collect below the basket, create smoke, or make food greasy. Aerosol cooking sprays may damage some nonstick coatings, so use an oil mister or brush if the manufacturer warns against aerosol sprays.
6. Arrange food in a single layer
Place food in a single layer when possible. Leave small gaps so hot air can move around each piece.
Overcrowding is one of the most common causes of soft or uneven food. If the basket is full, cook in batches. A second batch often cooks faster because the basket and cooking chamber are already hot.
7. Shake or turn the food
Shake the basket halfway through cooking for small foods such as fries, vegetables, and nuggets. Turn larger foods with tongs.
You may not need to turn foods that are fragile or already browning evenly. Check the underside before deciding.
8. Check for doneness
Use a food thermometer for meat, poultry, and seafood. Color alone does not reliably prove that food is safe.
The USDA recommends these minimum internal temperatures:
- 165°F: Poultry, including chicken and turkey; leftovers and casseroles
- 160°F: Ground meats, including beef, pork, lamb, and veal
- 145°F: Whole cuts of beef, pork, lamb, and veal, followed by a three-minute rest
- 145°F: Fish and shellfish, or until the flesh is opaque and separates easily
Insert the thermometer into the thickest part of the food. Avoid touching the basket or bone, since those surfaces can distort the reading. See the USDA safe minimum internal temperature chart for current guidance.

Air Fryer Temperature and Time Chart
The following chart gives practical starting points for common foods. The amounts, food thickness, starting temperature, and air fryer model can change the result.
| Food | Temperature | Starting time | What to do |
|---|---|---|---|
| Frozen French fries | 400°F | 12–20 minutes | Shake two or three times |
| Tater tots | 400°F | 12–18 minutes | Shake halfway |
| Frozen chicken nuggets | 400°F | 8–12 minutes | Turn if needed |
| Chicken wings | 400°F | 18–25 minutes | Turn or shake halfway |
| Chicken thighs | 375°F | 20–30 minutes | Check the thickest part |
| Chicken breast | 375°F | 16–24 minutes | Check at the center |
| Salmon fillet | 375°F | 8–12 minutes | Cook skin-side down if applicable |
| Shrimp | 375°F | 5–8 minutes | Avoid overcooking |
| Hamburger patties | 375°F | 10–16 minutes | Check internal temperature |
| Fresh broccoli | 375°F | 8–12 minutes | Toss with a little oil |
| Fresh potatoes | 400°F | 18–30 minutes | Cut pieces evenly |
| Asparagus | 375°F | 6–10 minutes | Check thin stalks early |
| Mozzarella sticks | 375°F | 5–8 minutes | Watch for cheese leakage |
| Pizza slices | 350°F | 3–6 minutes | Check often |
| Egg rolls | 375°F | 8–12 minutes | Turn halfway |
| Bacon | 350°F | 7–12 minutes | Time depends on thickness |
These ranges are intended for typical household portions. They are not a substitute for a food thermometer or the instructions for a specific packaged product.
Which Air Fryer Setting Should You Use for Frozen Food?
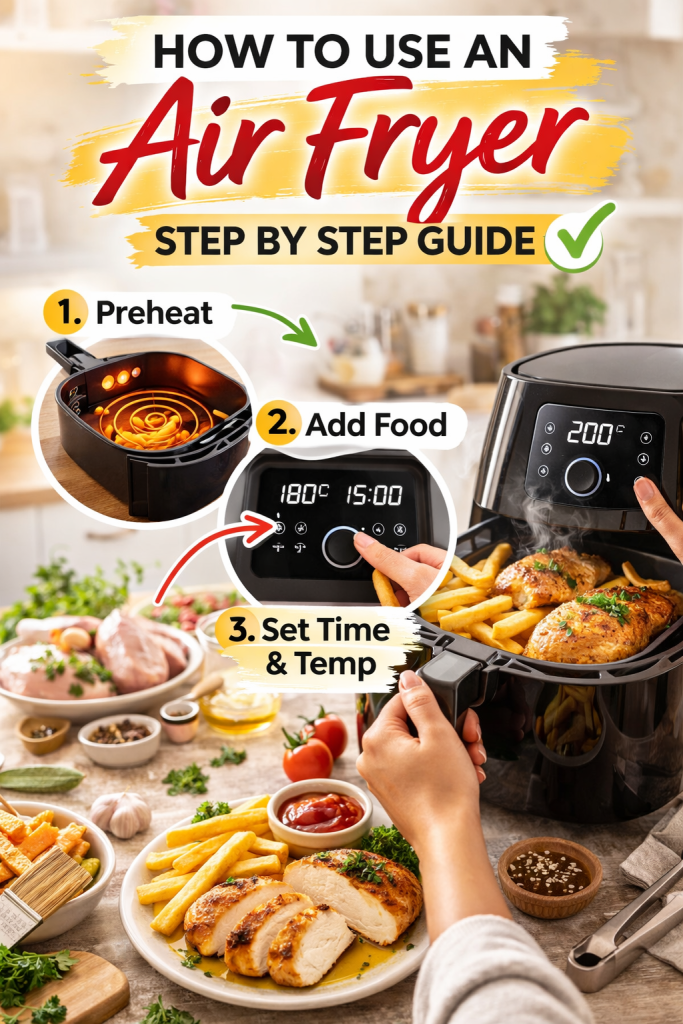
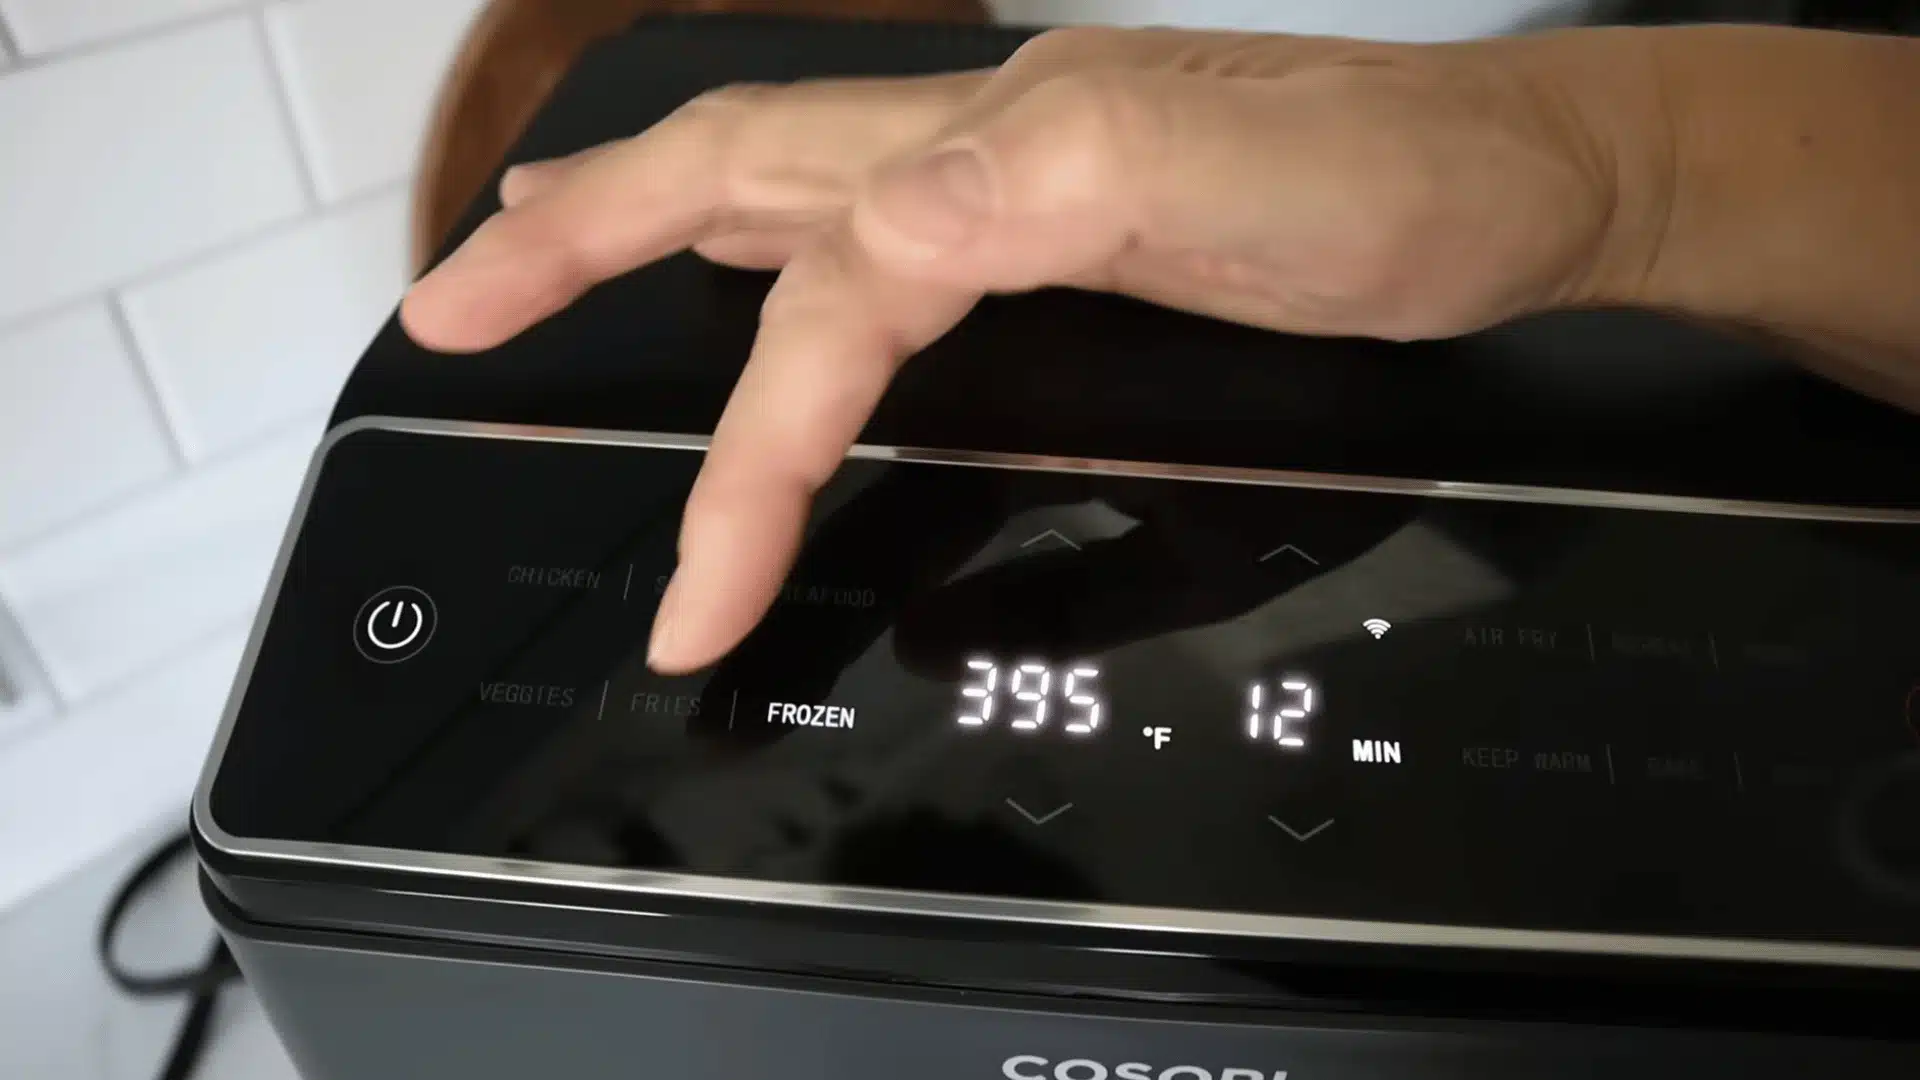
Use Air Fry at 375°F to 400°F for most frozen foods. Frozen items usually do not need to thaw first, and thawing can make breaded foods soft.
For best results:
- Preheat if your model heats slowly.
- Put the frozen food in a single layer.
- Start at the package air fryer temperature.
- Shake or turn the food during cooking.
- Add one- to three-minute intervals if the center is cold or the surface is not crisp.
Do not rely only on the outside color. A breaded item may brown before the filling becomes hot. This matters for frozen meat, stuffed foods, and products with a thick center.
Avoid adding extra oil to foods that already contain oil. Frozen fries and breaded snacks often brown well without it.

What Setting Should You Use for Chicken?
Use Air Fry at 375°F for boneless chicken breast and 400°F for wings, then verify the internal temperature.
Chicken breast is lean and can become dry. A moderate temperature helps the center cook before the outside becomes too dark. Wings contain more skin and fat, so higher heat can help render the fat and crisp the skin.
Use these methods:
- Chicken breast: Pound pieces to an even thickness when possible. Cook at 375°F and check the thickest area.
- Chicken thighs: Cook at 375°F. They can tolerate longer cooking and often remain more tender than breast meat.
- Chicken wings: Cook at 400°F. Turn or shake during cooking.
- Breaded chicken: Follow the package instructions, but check the thickest piece for doneness.
All poultry should reach 165°F in the thickest part, according to the USDA. The air fryer timer is not a safety test.

What Setting Should You Use for Vegetables?
Use Air Fry at 375°F for most fresh vegetables. Use 400°F for dense vegetables such as potatoes, carrots, and Brussels sprouts when the pieces are small and evenly cut.
Dry vegetables before cooking. Excess water creates steam, which can slow browning. A light coating of oil helps seasoning stick and improves surface color.
Cut vegetables into similar sizes so they finish at about the same time. Softer vegetables, such as zucchini and asparagus, cook quickly. Dense vegetables may need more time or a lower temperature to soften before the edges darken.
Shake the basket once or twice during cooking. If the vegetables are piled high, they may roast instead of crisp because the trapped moisture has nowhere to escape.
What Setting Should You Use to Reheat Food?
Use Reheat at 300°F to 350°F for gentle warming, or Air Fry at 350°F when you want a crisp surface.
Good starting points include:
- Pizza: 350°F for 3–6 minutes
- Fried chicken: 350°F for 5–10 minutes
- French fries: 350°F for 3–6 minutes
- Roasted vegetables: 350°F for 4–8 minutes
- Sandwiches: 350°F for 4–8 minutes
Check food early because small portions heat quickly. Thick leftovers may need to be turned or divided into smaller pieces.
When reheating meat, poultry, seafood, eggs, or leftovers, heat them until steaming hot throughout. The USDA advises reheating leftovers to 165°F.
Why Is Food Not Crispy in an Air Fryer?
Food usually fails to crisp because the basket is crowded, the surface is wet, or the cooking temperature is too low.
Try these corrections in order:
- Spread the food into a single layer.
- Pat wet ingredients dry.
- Shake the basket or turn the food.
- Add a small amount of oil to fresh vegetables or plain foods.
- Increase the temperature by 25°F.
- Cook for another two to five minutes.
- Use a wire rack or perforated tray only if it fits safely and does not block airflow.
Moist foods release water as they cook. If too many pieces are packed together, the air fryer fills with steam. The food may cook, but it will not develop a crisp surface.
Some foods simply cannot become deeply crisp without a coating or enough surface fat. A wet marinated food may brown less than a dry, breaded food even at the same temperature.

Why Does an Air Fryer Smoke?
Smoke can come from excess oil, grease left in the drawer, or food residue near the heating element. It can also occur when fatty foods drip onto a very hot surface.
If smoke appears:
- Stop the air fryer if it is safe to do so.
- Unplug it if you see flames, sparks, or an electrical problem.
- Keep the drawer closed if grease has ignited.
- Never pour water into a hot appliance or grease fire.
- Clean the basket, tray, and interior after the appliance cools.
- Contact the manufacturer if smoke continues during a clean, empty test.
Do not operate an air fryer on a wet surface or near flammable items. Keep the appliance away from cabinets, walls, towels, and paper products according to the manufacturer’s clearance instructions.
A small amount of white vapor is not always smoke. Water vapor may rise from frozen or moist food. Gray or blue smoke, a burning odor, or visible flames needs immediate attention.
Common Air Fryer Mistakes to Avoid
Setting the temperature too high
A high temperature may burn breading or sugar before the inside is ready. Start at 375°F for unfamiliar foods and raise the heat only when needed.
Filling the basket too much
Crowding blocks airflow. Cook in batches when crispness matters.
Using too much oil
Air fryers need less oil than deep fryers. Excess oil can make food greasy and increase smoke.
Skipping the turn
The side facing the basket may brown faster than the top. Turn thicker pieces unless the recipe says otherwise.
Treating cooking time as a safety check
A timer cannot account for food thickness or starting temperature. Use a thermometer for meat, poultry, fish, and reheated leftovers.
Using loose parchment paper
Parchment can lift into the heating element if food does not hold it down. Use perforated parchment made for air fryers only when the manufacturer permits it, and never preheat with loose paper inside.
Covering the basket with foil
Foil can restrict airflow and may move into the heating element. If you use foil, follow the appliance manual and keep it secured by food. Do not cover the entire basket.
Putting water or liquids in the drawer
Some recipes use a small amount of liquid to reduce smoke, but this depends on the model. Water can damage electrical parts or create hot steam. Follow the manual instead of adding liquid by habit.
Leaving the appliance unattended
Stay nearby while the air fryer runs. Stop using it if the cord, plug, basket, or housing becomes damaged.

How to Convert Oven Instructions for an Air Fryer
A practical starting method is to reduce the oven temperature by 25°F and check the food 20% earlier than the oven time. For example, if an oven recipe says 400°F for 25 minutes, try 375°F and begin checking around 20 minutes.
This method is only an estimate. It works best for foods that fit comfortably in the basket and need dry heat. It may not work well for:
- Cakes and breads
- Large roasts
- Covered casseroles
- Foods in deep dishes
- Recipes that depend on slow, even heating
Use a smaller pan if it is approved for your air fryer. Leave room around the pan so air can circulate. A pan that blocks the basket may prevent the appliance from cooking as intended.

How to Choose the Right Setting When Results Differ
Use the symptom to decide what to change.
| Problem | Likely cause | Best adjustment |
|---|---|---|
| Outside is dark, center is cold | Temperature is too high or food is too thick | Lower temperature by 25°F and add time |
| Food is pale and soft | Basket is crowded or surface is wet | Use a single layer and dry the food |
| Food is dry | Cooking time is too long | Check earlier or lower the temperature |
| Bottom is soggy | Moisture is trapped below the food | Turn the food and avoid stacking |
| Food cooks unevenly | Pieces have different sizes | Cut pieces evenly and shake |
| Food burns quickly | Sugar, breading, or oil is exposed | Lower heat and check often |
| Air fryer smokes | Grease or residue is overheating | Clean the appliance and reduce excess oil |
| Food sticks | Surface is dry or coating is damaged | Use suitable oil and inspect the basket |
Make one change at a time when troubleshooting. If you change temperature, time, oil, and basket position all at once, it becomes difficult to know which adjustment helped.

Key Takeaways
- Air Fry at 375°F is the best general starting setting.
- Use 400°F for many frozen foods and chicken wings.
- Use 350°F or lower for reheating and delicate foods.
- Preheat when browning matters, but follow your model’s manual.
- Keep food in a single layer for better airflow.
- Shake small foods and turn larger pieces.
- Check meat, poultry, seafood, and leftovers with a thermometer.
- Cook poultry to 165°F, ground meat to 160°F, and whole cuts of beef, pork, and lamb to 145°F with a three-minute rest.
- Reduce the oven temperature by about 25°F when converting a recipe, then check early.
- Clean grease and food residue to reduce smoke and uneven cooking.
Frequently Asked Questions
Should I use Air Fry or Bake?
Use Air Fry for crisp food, breaded food, wings, fries, and vegetables. Use Bake for muffins, cakes, biscuits, and foods that need gentler heat. The exact difference depends on how your model controls its fan and heating element.
Do I need to preheat an air fryer?
Not always. Preheating can improve browning and may help frozen foods, wings, fish, and steak cook more evenly. If your model heats quickly or the recipe does not require it, you can often skip preheating.
Can I put frozen food directly in an air fryer?
Yes, many frozen foods can go directly into the basket. Follow the package instructions, avoid overcrowding, and check the center of thick or stuffed foods before serving.
What temperature is best for steak in an air fryer?
A common starting point is 400°F, but the time depends on steak thickness and the desired internal temperature. Use a thermometer rather than relying on time or color. Rest the steak after cooking.
Can I use an air fryer instead of an oven?
You can use an air fryer for many small portions of foods commonly prepared in an oven. It is less suitable for large roasts, large baking dishes, and recipes that need a full-size oven’s capacity. Check that the pan or dish fits and does not block airflow.
How do I know when food is done?
Use a thermometer for meat, poultry, fish, and leftovers. For other foods, look for the expected texture, color, and tenderness, then check the center before serving.
Conclusion
For most American home cooking, start with the Air Fry setting at 375°F. Choose 400°F for many frozen foods and wings, 350°F for reheating, and a lower temperature when the outside browns faster than the center cooks.
The most reliable results come from three habits: leave space around the food, check earlier than the recipe suggests, and use a thermometer for foods that require a safe internal temperature. When your result is soft, dry, burnt, or uneven, adjust one variable at a time.